Contents
- 1 Water Bath VS Pressure Canning
- 2 Equipment Needed
- 3 Safe Canning Practices
- 3.0.1 1. Get all the bubbles out
- 3.0.2 2. Follow The Recipe
- 3.0.3 3. Proper Timing & Pressure
- 3.0.4 4. Leave Room for Expansion
- 3.0.5 5. Use Canning Safe Jars
- 3.0.6 6. Always Label
- 3.0.7 7. Use One-Time Lids
- 3.0.8 8. Do Not Use Unapproved Canning Methods
- 3.0.9 9. Check for the Seal
- 3.0.10 10. Always Use a Tray
- 3.0.11 11. Wipe the Rims
- 3.0.12 12. Sterilize
Canning for beginners can seem daunting, but I assure you once you learn some basics regarding canning, it’s a breeze! You are probably wanting to learn how to can because you grew all this produce in your lovely organic garden this summer and now have an abundance that can be preserved so you can enjoy it all year.
Canning creates food security and saves money on food bills in the winter months. It also leaves room in the freezer and fridge for things that you don’t want to can. Let’s get into the basics!
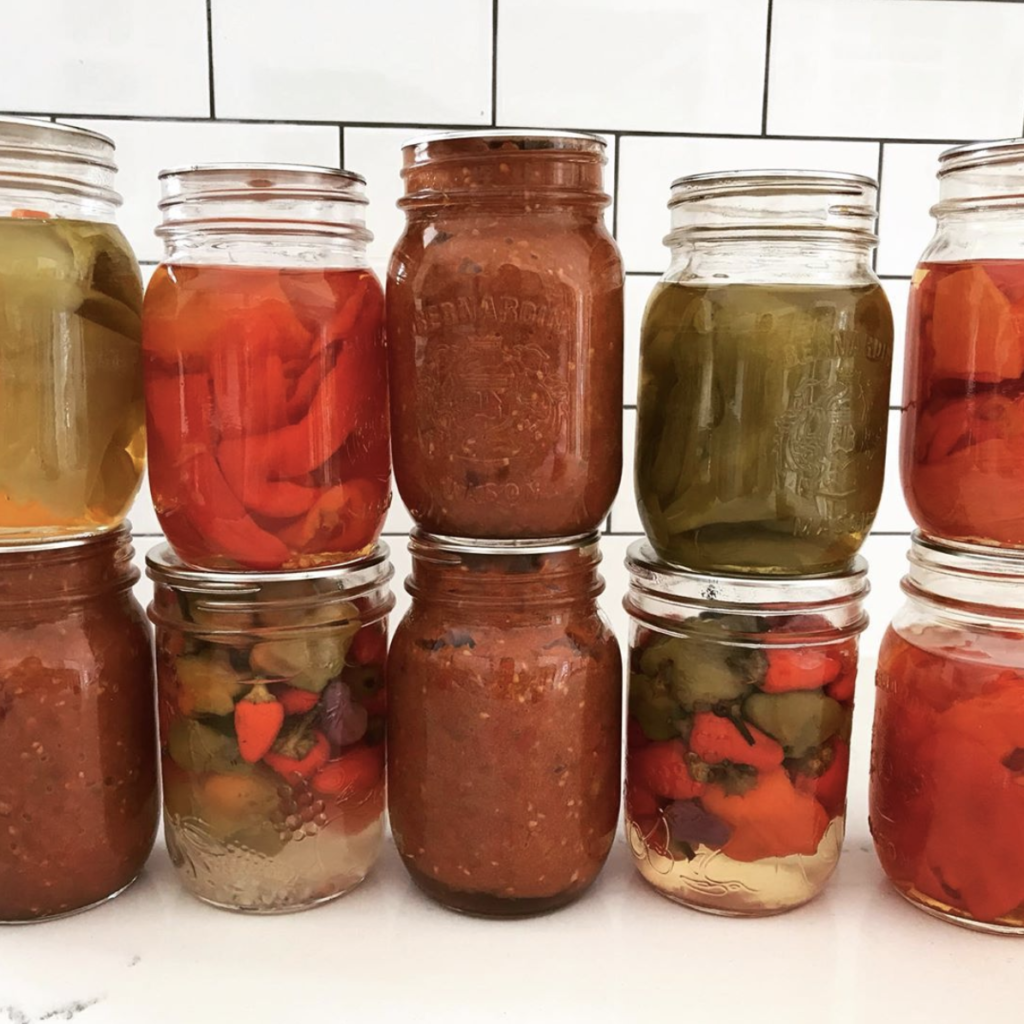
Water Bath VS Pressure Canning
There are two different types of canning: water bath canning and pressure canning. Each method is used for a different type of food, depending on the acidity level.
Water Bath Canning
in simple terms is a giant pot that you use a tray to put the mason jars on, fill it up with water so that the jars are submerged, and boil the jars with the lid on for a certain amount of time. The heat seals the jar. This works great with foods that naturally have acid in them such as tomatoes, jams/jellies, salsa, or pickled anything.
Pressure Canning
This is a little different, because you are only filling the water about 3”, placing the jars again on a tray, but then you are completely sealing the large pot and allowing it to build up pressure. The pressure seals the jar. This works great for foods that are low in acids, such as broth, meat, and vegetables.
For example, if you are making a tomato sauce, you would water bath can, but if you are making a meat sauce, you would pressure can.
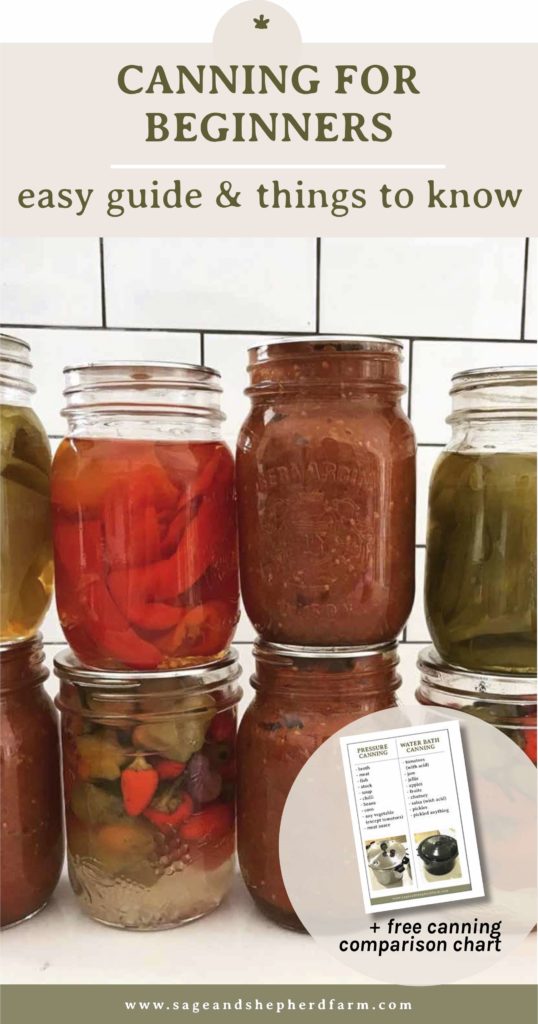
Be sure to download the printable chart to remind you what food needs what type of canner, below!
Equipment Needed
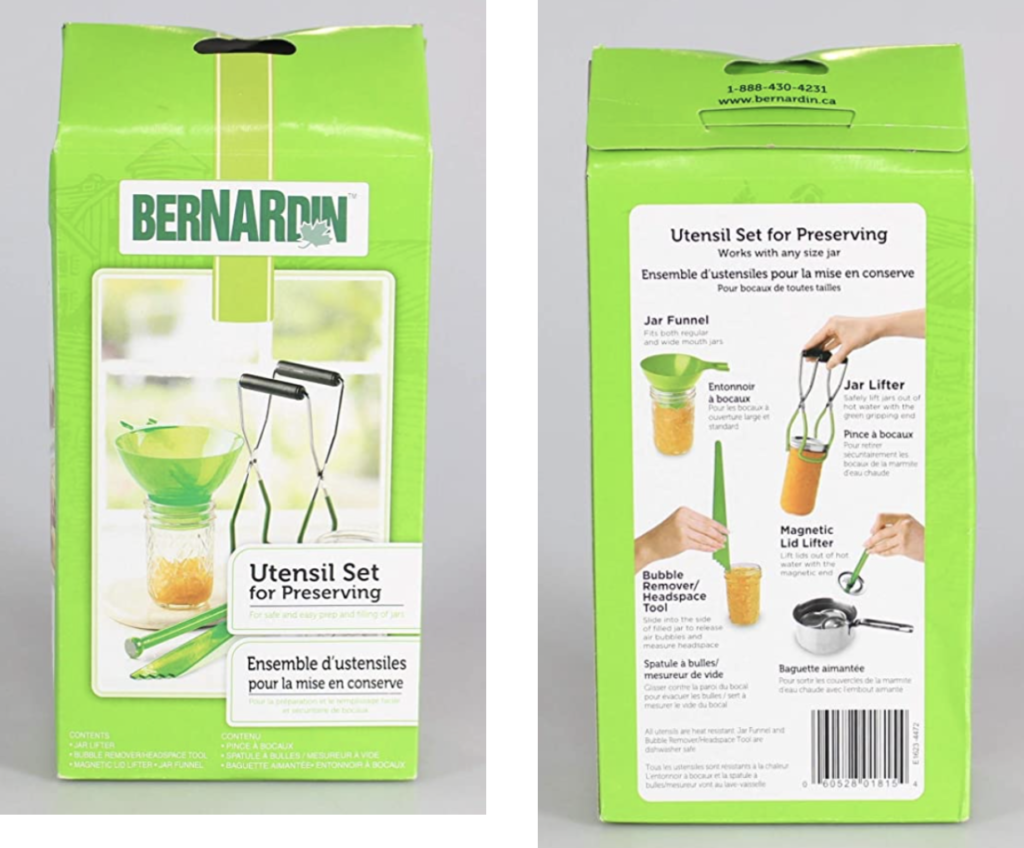
- Canner. Either water bath or pressure canner or both! I have both, and it really helps.
- Jars. Make sure these are canning safe, in other words, do not use your leftover Classico jars as they are not made to withstand high temps.
- Rings. These are needed to seal the jar when it’s in canner.
- Lids. Use fresh lids each time as the seal might lose its integrity. Unlike the jars and rings, you cannot reuse the lids.
- Jar holder. This is a handy little tool that helps lift up the jars in and out of the hot canner. A must-have!
- Bubble remover/ruler. Another tool that is helpful, and plastic, that helps removes any air bubbles in the jar before canning. The other end of this tool will also double as a ruler of sorts. Keep reading and I’ll fill you in.
- Funnel. This will help for pouring liquids into your jars without getting the rims too dirty.
- Pot for sanitizing. Another large pot will come in handy when sanitizing your jars/rings/lids in boiling water.
- Magnetic lid. This also comes in handy when sanitizing your lids, as this wand has a magnetic tip that can grab the lids easily out of the hot water.
I love this starter pack from Bernardin, you can grab it at Canadian Tire or Amazon.
Safe Canning Practices
Remember these helpful tips when canning, because if not done correctly canning can cause harm to you and your family. I think that’s why it gets a complicated wrap!
1. Get all the bubbles out
This one is super important because the more air in your jar the more room for oxidization (spoiled food). After you fill your jars with whatever you are canning, you can use the bubble remover and gently outline the interior of the jar to pop all the bubbles.
2. Follow The Recipe
Another important one, when canning you should always follow the recipe because there is a certain amount of acid in the recipe that helps preserve it.
3. Proper Timing & Pressure
Again, follow the timing on the recipe. It’s that way for a reason. For water bath canning, set your timer after your water has started to boil and make sure the water stays at a boil for the entire processing time. For pressure canning, you will need to check your elevation and can at a certain pressure/lbs and time. Be sure to keep the pressure gauge at the correct number or else you will have to start your timer again.
4. Leave Room for Expansion
This is where that little bubble remover comes in handy because on the other side of it is a ruler! It measures headspace in your jars, most recipes will tell you how much headspace you need, and be sure to leave just that! That way there will be no overflow.
5. Use Canning Safe Jars
As mentioned above, use only canning safe jars – not old Classico jars.
6. Always Label
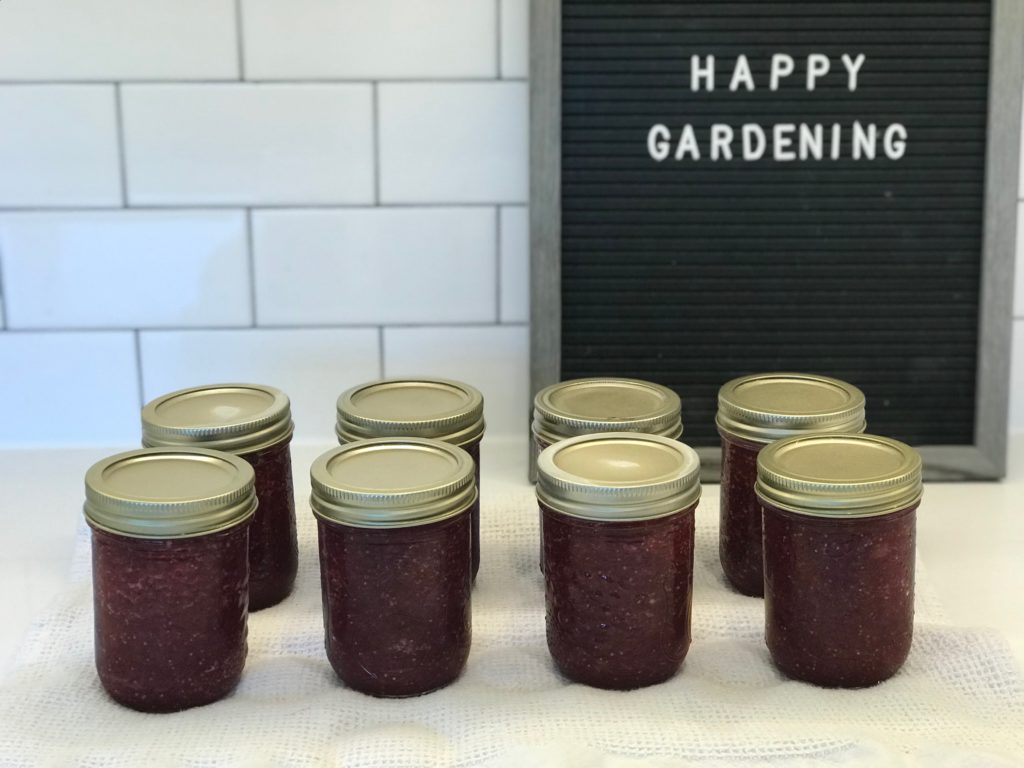
This way you will remember when and what you canned. Trust me, labelling is your friend! Most canned products are shelf-stable for 1-3 year, so knowing when you canned them is crucial to keeping your pantry stocked and safe.
7. Use One-Time Lids
The lids are one time use for canning because after each use the seal lessens. So buy new lids for each batch!
8. Do Not Use Unapproved Canning Methods
Lots of books and websites still say canning using the upside down method or the kettle method are acceptable, but if you look on any USDA or Canadian food safety they are not. So don’t do them, as it can lead to your family getting sick.
9. Check for the Seal
Once you take your jars out of the canner and they are done, be sure to leave them on the counter for 24 hours. In a matter of minutes you will start to hear the sound of the beloved ‘pops’ of the jars sealing. It really is the best noice! Check the ‘button’ in the middle of the lid on each jar to see if it has worked before storing in your pantry. If the seal did not work (ie. you can still press the ‘button’), you can stick it in your fridge to use for the week.
10. Always Use a Tray
This is super important, most canners automatically come with a tray, so use it. This keeps the jars off the button of the canner so the water can equally travel under the jars for optimal canning.
11. Wipe the Rims
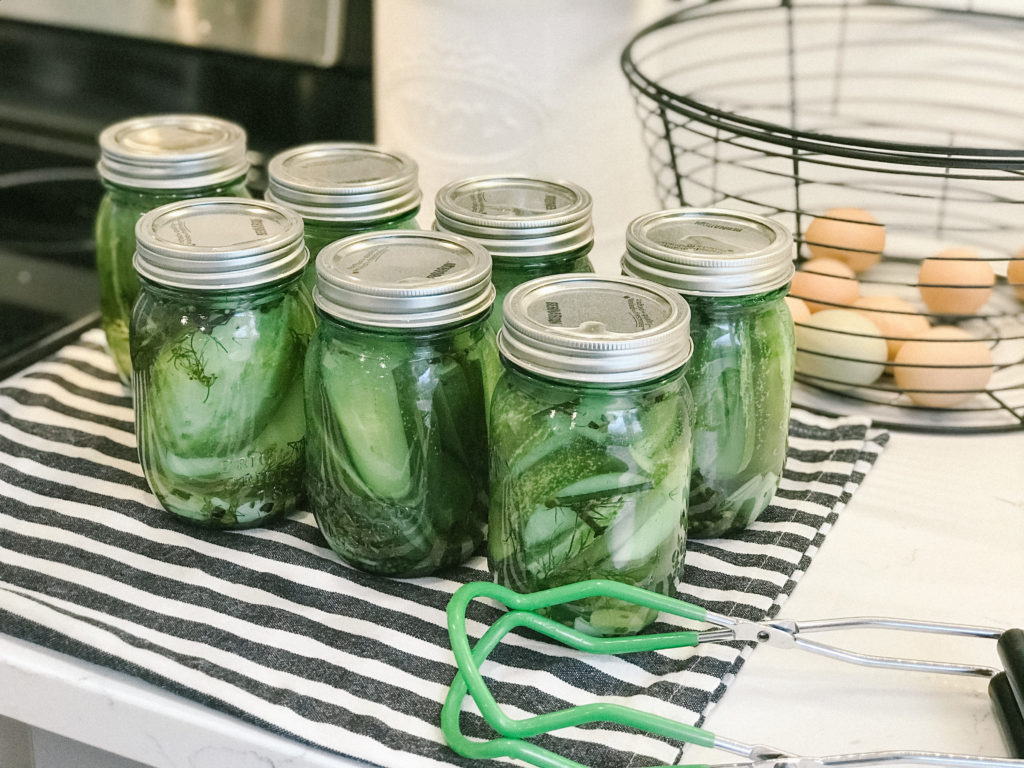
Always be sure to clean the rims of the jars after pouring in whatever you are canning, this keeps everything clean and sterile.
12. Sterilize
Sterilize your jars, lids and rims. I would say 90% of the time, especially when you are water bath canning, your recipe will recommend sterilizing everything before use in boiling water for 10 mins. Sometimes when you are pressure canning, the recipe doesn’t require it, because pressure caning will sterilize as its canning. Check your recipe.
So there we have it, my most important canning tips!! We are in the middle of a move right now, but when we settle in our new house out West, I will do some more canning recipes for you. In the mean time you can check out my pickle recipe!
Let me know if you have any questions in the comments below!
-ABBAGAIL


I prefer fermenting. Faster, easier, and cheaper. I understand that my fermented vegetables won”t last a long time as opposed to canning, but I live in a very warm climate – no cooler basement or root cellars in Thailand. So, I will stick with fermentation and using the refrigerator to preserve my vegetables.
Larry Westfall recently posted…Pickling Cucumbers Fused With Health Promoting Compound